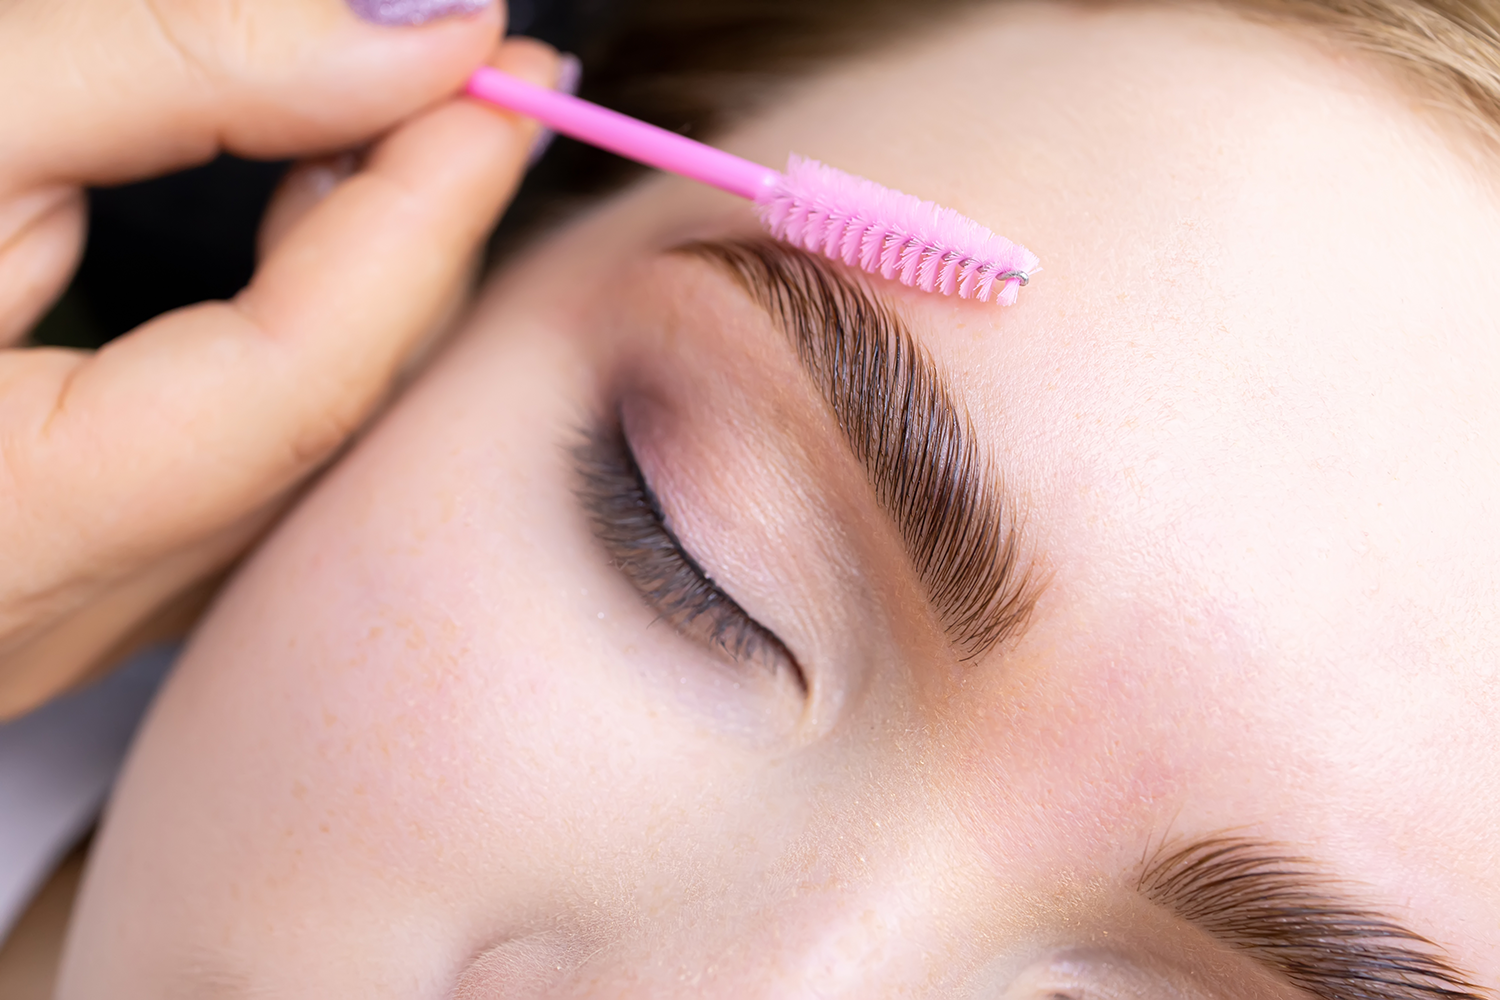

Wondering how to get your brows looking perfectly feathered and fluffed with minimal fuss? You may be intrigued to learn more about the beauty world’s favourite new procedure, brow lamination.
We’re not just talking about filling your brows in with pencil and powder — brow lamination is an in-salon procedure that promises to make your eyebrows look fuller and more defined.
If you’re looking to switch up your brow game, here’s everything you need to know about brow lamination, including how it works, after-care, and much more!
What is brow lamination?
Similar to a perm, brow lamination is a semi-permanent process using a chemical solution infused with keratin that straightens and lifts the brows.
Once complete, your brows can be brushed up into a fuller and lifted shape, and the effects last for approximately six weeks.
It’s always a good idea to have stray hairs plucked, threaded, or waxed before your lamination. If you’re looking for the ultimate in brow shaping, we recommend heading to your local Benefit counter or store. All Benefit brow services, including lamination, start with brow mapping, a three-step technique designed to create the perfect brows for your individual face shape.
Does brow lamination hurt?
You’ll be pleased to hear that brow lamination is painless. Although you may notice the smell of the chemical formula, don’t worry, we’ve tried it, and it was completely pain-free.
How long does the brow lamination procedure take?
It takes approximately 40 minutes to laminate your brows. However, if you also opt to tint your brows at the same time, it’ll take a little longer. Be prepared to sit back and relax — bring a book if you’re easily bored.
A word of caution — keep your eyebrows dry for 24 hours after lamination. During this timeframe, avoid applying any type of product to your brows — otherwise, the effects will wear off.
Can lamination damage my brows?
Just as over-dying or bleaching can damage your hair, brow lamination can weaken your hair follicles. It’s essential to combat this by regularly applying a nourishing serum, such as the Benefit ‘Browvo! Conditioning Primer’. Harnessing the power of keratin and soy proteins, this hard-working and conditioning primer conditions and smooths brows.
It’s also important to give your brows breathing space — make sure you wait eight weeks between brow lamination appointments, just as you would when colouring or bleaching your hair.
How do I style my brows post-lamination?
As well as using the aforementioned Benefit primer (we love applying this morning and night), you can run any kind of oil across the brows to keep them hydrated.
Apply your brow pencil of choice if you’re wanting to add colour, then, to brush and set your brows into a feathery and fluffed up shape, finish your look with a long-wearing setter. Our top pick is the Benefit ’24-Hr Brow Setter Invisible Brow Gel’ for its long-lasting effects, keeping your brows in place all day. The gel comes with a handy brush applicator — evenly coat your hairs from root to tip with the long bristles, then use the short bristles to sculpt and shape your brows into place. Lastly, use the brush’s precision tip to define your eyebrow tail to finesse your look.
Ultimately, brow lamination allows you to reposition your brows for approximately six weeks. And with the help of your trusted brow products, you can extend and amplify the effects of the treatment, while nourishing your hairs along the way.
Intrigued by what brow lamination has to offer? Fix a date with the brow experts at Benefit and have your brows wowed — discover more here.